How to Replace Garage door cables and bottom brackets- torsion spring door
Garage door and garage door openers have many moving parts. Most of the components of the garage doors and openers are made of metal that can have sharp points or edges. Cables can have burrs or small frays. Door sections and the door tracks and rollers can present pinch points. It is recommended you have protective gloves on at all the times that you will be working on your garage door and opener.
Do not attempt any garage door related repairs unless:
I. You have the proper tools and safety equipment. Safety glasses and gloves must be worn at all times. Work boots are recommended. Loose fitting clothing and jewelry should not be worn during any repair.
II. You must possess a reasonable amount of mechanical aptitude and experience.
III. You are physically able to complete the tasks (climbing ladders, using wrenches, and installing springs require a reasonable amount of physical strength, agility and ability.)
IV. You are able to completely read, understand and follow the instructions.
If you have any doubt about your ability in conducting the tasks, it is highly recommended that you contact a garage door professional to complete your repair.
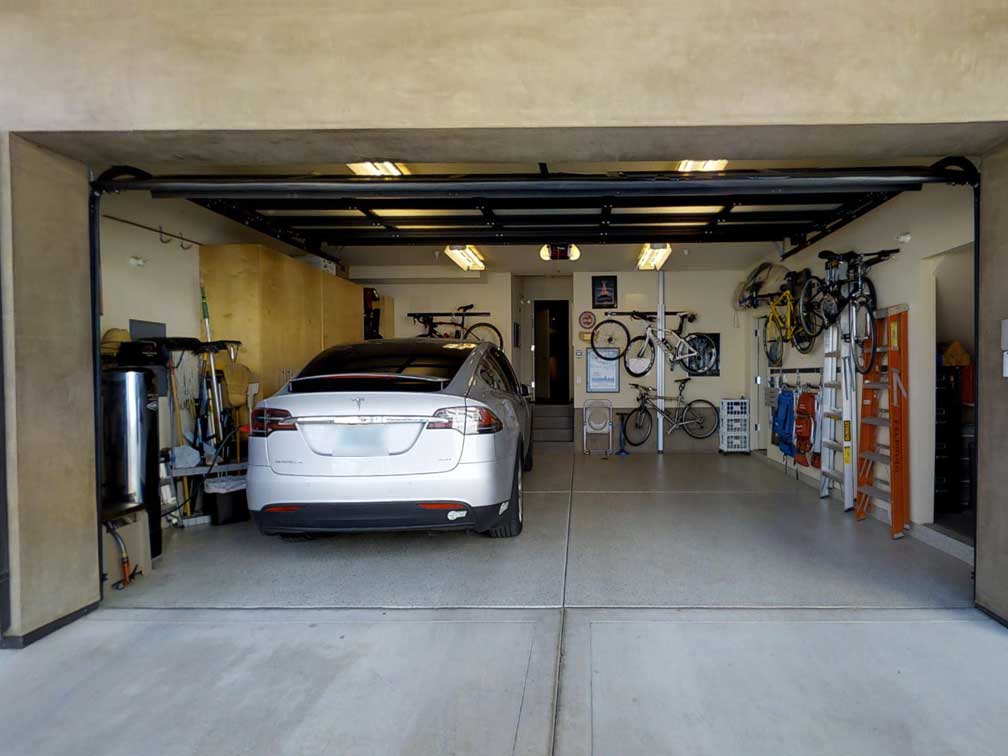
The directions are based on torsion springs set up. Front mounted with a center bearing plate with a spring, or springs attached at the center. It has cable drums and bearing plates with cables coming up from the backside of the cable drums. Any variance in the type of set up will render this type of directions null and void. If your garage door has a different type of spring set up, then doesn’t use the following instructions. Since it can cause, damage to the garage door, serious injury and even death during the process. It’s recommended you call a door assembly professional if your door spring set up is different.
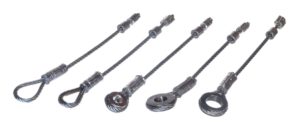
Bottom brackets and cables should always be replaced in pairs to ensure that there is continuity in overall length. Replacing additional components when replacing the brackets and cables will save you a lot of time in future.
The required tools are:
Ø Metal rods or winding bars
Ø 2 pairs of locking pliers
Ø A ladder
Ø Various sockets
Ø Wrenches sized 3/8, 7/16, 1/2 and 9/16
You will follow the following instructions when changing garage door cables and bottom brackets- torsion spring door:
Ø Unplug the door opener from the electrical outlet.
Ø Remove the arm from the garage door opener.
Ø Lock your garage door closed and place clamps on the track above the middle roller. This will ensure the door does not open while you are working.
Ø Unwind the spring or springs: first position the ladder in a way that will allow you to keep your face from the winding cone and winding bars as you unwind the springs. Insert one winding bar into the cone, while firmly holding on to the winding bar, loosen the set screws on the winding cones. Make sure the set screws are not in contact with the door shaft. Insert the second winding bar, fully into the winding cone, lift up the first winding bar and remove the first bar. Then insert the winding bar into the next hole in the cone, and repeat this process until all tension is removed from the spring. You will need to count all the amount of quarter turns you removed from the spring as you are unwinding it; this is because you will be reapplying the same amount of tension later on. Take your time to concentrate what you are doing, eliminate all forms of distraction from your workplace before winding and unwinding the torsion spring.
Ø Unwind the 2nd spring on the 2nd spring door: if your garage door has two torsion springs. Repeat the above process on the other spring. All tension must be removed from the garage door before you can proceed.
Ø Loosen drum and remove cable: first loosen the set screws on the cable drum, and then slide the cable drum away from the end bearing plate. Remove the cable from the cable drum. You may let the cable drop to the floor.
Ø Loosen truck, remove bottom bracket: first, remove the light bolt holding the bottom bracket to the wall. Remove the fasteners from the bottom bracket in place. Slide the truck to the side and remove the bottom bracket from the door. Remove the cable from the bottom bracket and then completely remove the cable form the door. Prepare the new cable by cutting off any pieces of tape wrapped around it. Always be careful when using a sharp knife. Now attach the cable to the bottom bracket. Install the roller into the bottom bracket and thread the cables behind the rollers on the door. With the cable behind the roller and bracket, install the bottom bracket on the garage door. Align the bracket with the holes it was removed from, and reinstall the fasteners. Ensure to tighten them before proceeding. Reinstall and tighten the live bolt onto the bottom bracket. Take care to reposition the bracket on the exact same position that it was originally.
Ø Install the cable in drum and set drum: first ensure the cable is clear of any obstructions and is running directly from the bottom bracket to the cable drone. Insert the cable into the slot of the cable drum. Make sure the cable is properly seeded in the cable drum. Make sure the cable is properly tracking in the grooves of the cable drum. Slide the drum firmly against the end bearing plate and tighten the set screws on the cable drum. Do not over tighten the set screws. Holding the drum in a manner that will keep the cable tight on the cable drum, place locking pliers on the shaft letting them rest against the wall. This will hold the cable tight on the cable drum.
Note These instructions should be performed by a professional – Call Us –702-655-3667